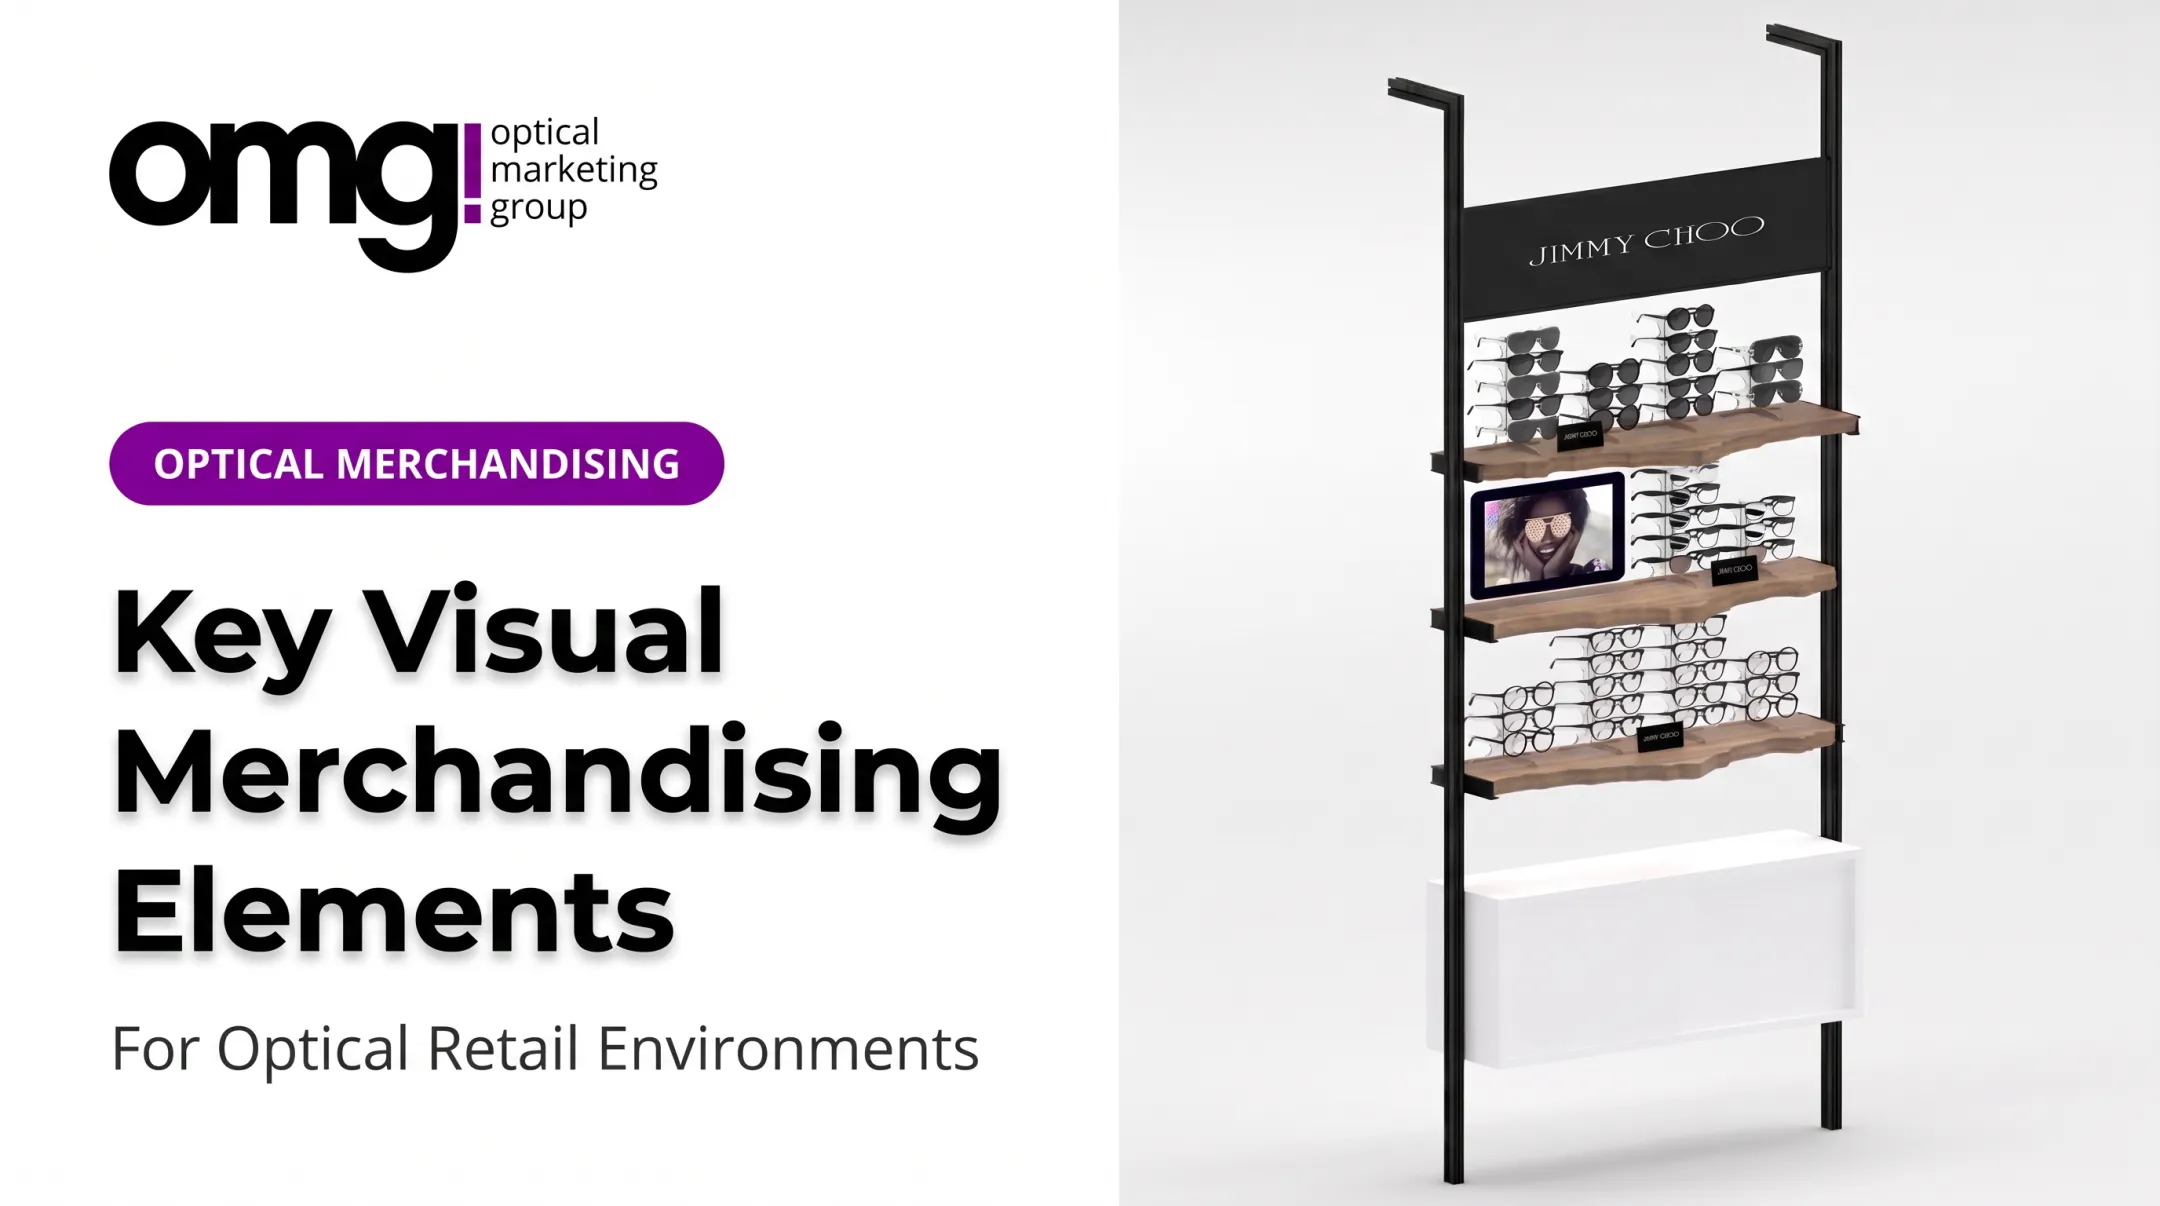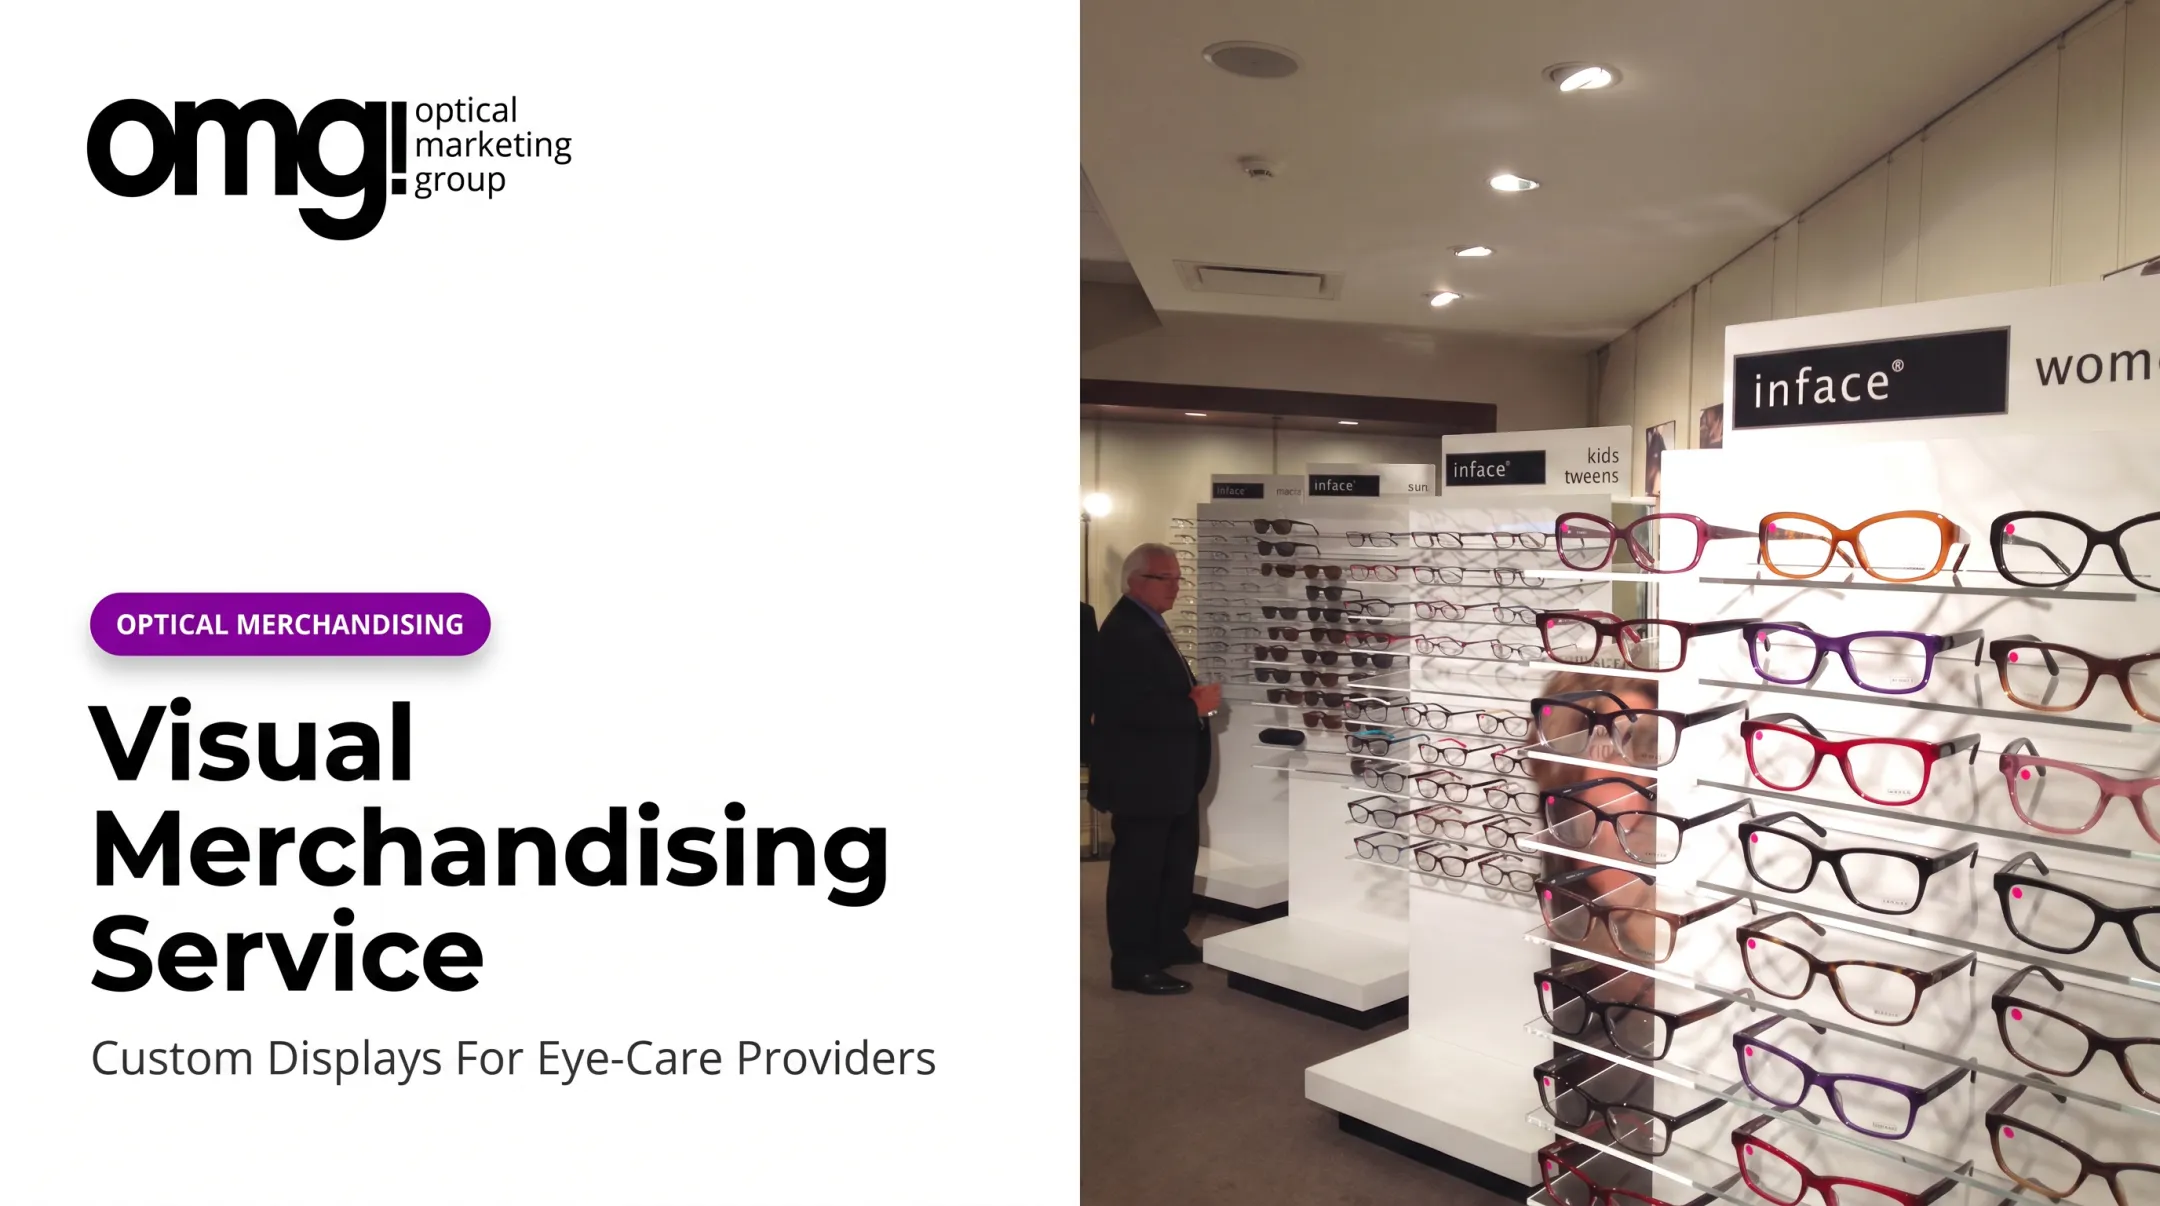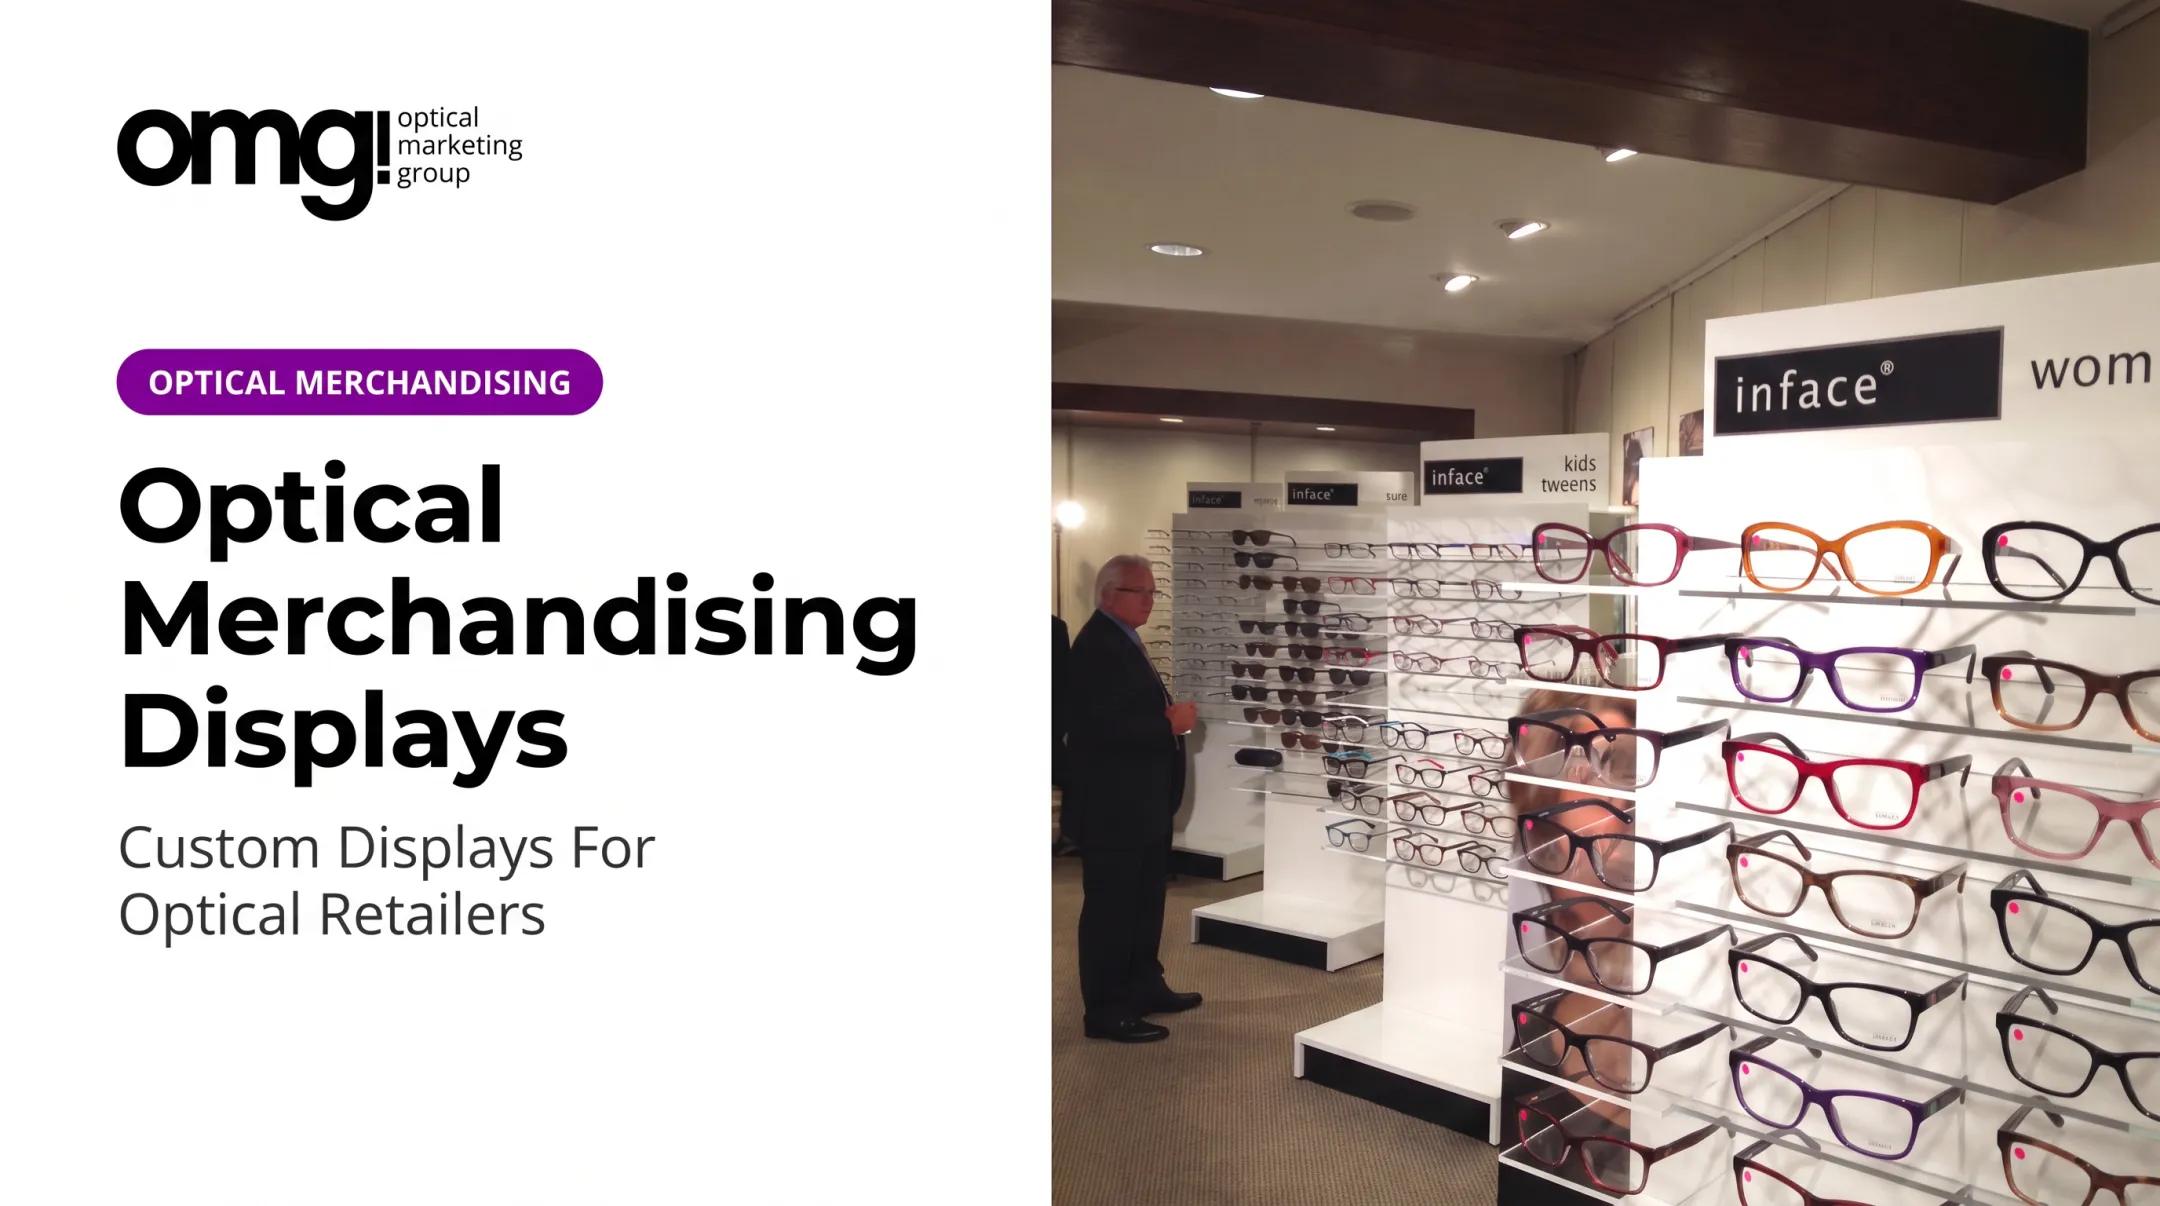

A well-designed environment doesn’t just happen. It’s the result of a deliberate visual merchandising strategy that transforms your optical from a waiting room with shelves into an engaging, profitable retail destination. This guide breaks down the essential display types, design principles, and implementation steps to help you elevate your practice.
Key Takeaways
- Visual merchandising uses layout, lighting, and product grouping to guide attention and make frames easier to explore.
- Effective optical displays balance patient comfort and retail discovery with clear navigation and an accessible presentation of frames.
- The best strategy connects your practice layout, frame assortment, and signage into a cohesive brand experience.
- Measure success with key indicators like optical capture, multiple-pair sales, and sales by zone to understand what’s working.
What Are Visual Merchandising Displays and Why Do They Matter?
A visual merchandising display is a physical or digital presentation designed to attract attention, organize products, and encourage a purchase. Done well, it actively presents frames instead of simply storing them. Intentional displays influence patient sightlines, traffic flow, and the perceived value of your eyewear.
In an optical practice, frames are a highly visual and personal purchase, and patients often need help navigating the choices. Displays bridge the gap between a clinical exam and a confident retail decision by shaping product stories, sightlines, and the path from exam room to purchase.
Common display categories you'll use include:
- Wall-mounted frame displays: The backbone of most opticals.
- Freestanding fixtures: Islands and tables that create pathways and focal points.
- Countertop displays: Small, targeted units for dispensing tables or checkout.
- Window displays: Your practice’s first handshake with the outside world.
- Signage and digital screens: Tools for education, branding, and promotion.
Visual Merchandising Display Foundations for a Strong Optical Environment
A successful optical environment is built on a few core principles. Getting these foundations right ensures every fixture and frame contributes to a better patient experience and a stronger bottom line.
Establish a Focal Point
Every great room needs a focal point. In your optical, this could be a hero collection, a featured brand, or a seasonal story about sunwear. This central display should be immediately visible upon entry but shouldn't obstruct movement. Use it to tell a specific story and draw patients into the space. A well-lit, beautifully styled focal point sets the tone for the entire retail experience.
Use Space and Visual Hierarchy
Overcrowded frame boards are overwhelming and can devalue your inventory. The solution is to embrace negative space. Giving premium frames room to breathe makes them easier to evaluate and signals their quality.
Organize your displays with a clear logic that patients can instantly understand. Groupings can be based on:
- Brand
- Style (such as minimalist or bold)
- Material (such as sustainable or titanium)
- Wearer need (such as active lifestyles or office wear)
- Price tier
This hierarchy helps patients self-navigate to the sections most relevant to them, making the selection process feel more personal and less intimidating.
Master Your Lighting
Lighting is both a functional and an aesthetic tool. The right lighting makes your frames look incredible, while the wrong lighting can create glare and unflattering shadows. Aim for a layered approach:
- Ambient Lighting: The overall illumination of the room.
- Accent Lighting: Focused light that highlights specific displays, like the
Logan Lit Shelvessystem which uses diffused LEDs to showcase frames. - Task Lighting: Bright, clear light for dispensing tables and exam rooms.
Pay close attention to how lighting affects frame colors and a patient's ability to see themselves clearly in a mirror. Lighting has a measurable impact on shopper behavior. A Journal of Business Research study found that modulating lighting properties can influence how shoppers browse a retail space.
Maintain a Consistent Visual Language
The materials, colors, and finishes of your fixtures communicate your practice's identity. Are you modern and sleek, warm and approachable, or high-end luxury? This visual language should be consistent across every touchpoint—from your exterior signage and reception desk to your dispensing tables and digital content. Consistency builds a strong, memorable brand.
Use Signage for Discovery
Treat signage as an educational tool, not visual clutter. Instead of only listing prices, use signs to tell brand stories, explain lens benefits, or guide patients to different categories. Simple, clean signs like Brand ID/Brand Story plaques can add a layer of information without overwhelming the space. The goal is to help patients discover solutions, not just look at products.
Visual Merchandising Techniques and Store Layouts
Once you have your foundations in place, you can start applying specific techniques to optimize your space. Practice layout dictates how patients move through it, and a few proven merchandising tactics can raise engagement.
Choose the Right Layout
There are four common retail layouts, each with its own strengths:
- Grid Layout: Long, parallel aisles, like a grocery store. It's efficient for showcasing a large inventory but can feel less exploratory.
- Loop (or Racetrack) Layout: A defined path that guides shoppers past every department. This exposes patients to your full range of offerings.
- Free-Flow Layout: An open, organic layout with fixtures placed at angles. It encourages wandering and is great for boutique-style practices.
- Herringbone Layout: Best for long, narrow spaces, this layout uses a central aisle with angled displays branching off.

Many optical practices benefit from a modified free-flow or loop layout. The key is an intuitive path from the entrance or "decompression zone" past your key displays.
Remember the common right-side bias: many people naturally turn right upon entering, so the wall to the right of your entrance is prime real estate for new arrivals or premium collections.
Apply Proven Merchandising Techniques
Within your layout, use these techniques to make your displays more effective:
- Eye-Level Placement: The most valuable real estate is between the eyes and the waist. Place your most important products here.
- Color Blocking: Grouping frames by color creates a powerful visual impact and simplifies choice.
- Lifestyle Grouping: Create vignettes for specific needs, like "Weekend Adventurer" with durable sunwear or "Boardroom Ready" with sophisticated office frames. Lifestyle signage can help define these zones.
- The Rule of Three: Displaying items in odd numbers, particularly groups of three, is more visually appealing and memorable than even-numbered groups.
- Cross-Merchandising: Place related accessories like lens cleaners, cases, or chains next to your frame displays to encourage add-on sales.
Integrate Digital and Interactive Elements
Modern merchandising extends beyond physical displays. Interactive tools can improve the patient experience and support product education. Consider incorporating:
- Mirrors: Place full-length mirrors like the Park Mirror for styling, plus smaller mirrors at each display.
- Tablets: Use tablets at dispensing tables or as mobile tools for staff to show lens demos or frame options.
- Digital Signage: A 43" Freestanding Interactive Touch Display can feature brand videos, virtual try-on tools, or educational content about lens technology.
- QR Codes: Link to brand websites or informative videos.
Plan for Regular Rotation
Static displays quickly become invisible. Build refresh cycles into your merchandising plan so presentations stay current.
Update window and promotional displays every 4-6 weeks to match new arrivals, seasonal campaigns, and brand promotions. A simple merchandising calendar keeps the space looking fresh and gives patients a reason to see what's new.
Visual Merchandising Displays for Optical Practices
Applying these principles means thinking about how each display type serves a specific purpose in the patient's journey through your practice.
Window and Exterior Displays
Your windows are your 24/7 advertisement. They should communicate your practice’s identity before a patient even opens the door. Focus on clear, simple storytelling with one or two hero products, strong lighting, and readable messaging. The goal is curb appeal that accurately reflects the experience waiting inside.
Wall and Frame Displays
Wall displays are the workhorses of your optical. To make them effective:
- Keep consistent spacing between frames
- Set accessible heights for all patients
- Use clear category signage
- Place mirrors nearby with room for patients and opticians to move and interact
Replacing outdated, overcrowded frame boards with minimal shelving can instantly create a more premium, curated feel.
Countertop and Point-of-Purchase Displays
Use countertop space at the reception and dispensing tables strategically. This is the perfect spot for small, focused displays promoting:
- Lens upgrades
- Eyeglass care products
- Second-pair opportunities (for example, a simple “50% Off Your 2nd Pair” sign)
- Seasonal sunwear
Keep these displays clean and relevant. The checkout area should feel helpful, not cluttered.
An Integrated Partner for Optical Merchandising
Bringing all these elements together (space planning, fixture design, graphics, and digital content) can be a complex project. An integrated optical merchandising partner like OMG! Optical Marketing Group can manage the entire process.
OMG! operates as a full-service design and production studio, helping eyecare providers with everything from initial space planning and custom fixture production to branded signage and digital display installation. This end-to-end approach keeps every element aligned so the space feels cohesive and performs well.
Putting a Display Strategy Into Practice
Ready to make a change? You can start improving your optical displays today. A staged approach makes the process manageable, whether you’re looking for a quick refresh or planning a full remodel.
Step 1: Conduct a Practical Audit
Start by looking at your space with fresh eyes.
- Photograph everything: Take pictures of your exterior, reception area, and optical from a patient’s perspective.
- Map the journey: Trace the typical path a patient takes from the front door to the exam room and back to the optical. Where are the bottlenecks? Where are the dead zones with no engagement?
- Review your inventory: Are your frame categories clear? Is your best inventory hidden?
- Assess lighting and signage: Is it bright, clear, and helpful?
- Ask your team: Get feedback from your opticians and staff. They know what works and what doesn't.
Step 2: Implement in Stages
You don’t have to do everything at once. Group improvements into phases.
Quick Wins (This Weekend)
- Declutter: Remove anything that doesn’t contribute to the experience.
- Improve Spacing: Pull your top 20% of frames and give them more room on the board.
- Clarify Signage: Ensure every area is clearly marked. Use simple signs to define categories like "New Arrivals" or "Sunwear."
- Adjust Lighting: Replace burnt-out bulbs and aim accent lights at your best products.
Medium-Term Improvements (This Quarter)
- Revise Zoning: Create distinct zones for different brands or lifestyles.
- Create a Merchandising Calendar: Plan your monthly and seasonal display updates.
- Update Fixtures or Graphics: Introduce a new display unit or refresh your window graphics.
- Coordinate Messaging: Ensure your digital and physical promotions are aligned. For practices looking for a guided refresh, OMG! offers a
Practice Refreshservice that provides before-and-after visualizations and a comprehensive plan.
Strategic Projects (This Year)
- Plan a Remodel or Relocation: For a major overhaul, work with a design partner. A comprehensive process like OMG!’s
six-phase journeycovers everything from initial discovery and construction drawings to fixture production and installation support.
Step 3: Measure Your Results
How do you know if your changes are working? Track key metrics before and after you make updates. According to GPN Technologies data, the average US practice has a complete-pair capture rate of 26.0%. The same data shows that among those patients, only 9.5% purchase a second pair during the same visit.

Improving your visual merchandising can directly impact these numbers. Compare your practice’s performance against these benchmarks and monitor metrics like:
- Optical capture rate (both complete-pair and overall)
- Multiple-pair sales
- Sales by display zone or product category
- Patient feedback and dwell time
If you're unsure where to start, tools like OMG!'s online Project Planner can help you begin evaluating your practice environment and defining your goals. Connect thoughtful design to measurable outcomes, and your optical space becomes one of your strongest business assets.
Frequently Asked Questions
What exactly does a visual merchandiser do?
A visual merchandiser plans and implements a store's product presentation. That work covers layouts, fixtures, signage, lighting, and display updates that create a cohesive brand environment and drive sales.
Where can I find custom point of sale displays?
Custom POP displays are available from specialist fixture manufacturers, retail design studios, and full-service optical merchandising companies. When sourcing them, evaluate the materials, dimensions, durability, and how well they integrate with your practice's brand.
What are the different techniques used in merchandising?
Common techniques include creating focal points, placing key products at eye-level, color blocking, grouping by lifestyle, and cross-merchandising complementary items. Effective use of lighting, negative space, and regular display rotation are also critical.
What are the four main types of store layouts?
The four main layouts are grid (parallel aisles), loop or racetrack (a defined path), free-flow (an open, organic plan), and herringbone (for narrow spaces). Free-flow and loop layouts are often well-suited for optical boutiques that want to guide browsing.
What are the 5 R's of merchandising?
The classic "Five Rights" of merchandising are having the Right Product, in the Right Place, at the Right Time, in the Right Quantity, and at the Right Price. This framework helps ensure your inventory strategy aligns with customer demand.
What does "merchandise display" mean?
A merchandise display is any physical or digital presentation used to showcase products. Its purpose is to organize a space, communicate information, and encourage patients to engage with and purchase the items on offer.