
Introduction
A modern optometry office has to do two jobs at once: deliver confident clinical care and make optical shopping feel effortless. Many practices nail one and struggle with the other.
A space can look polished and still create bottlenecks at check-in, confuse patients about where to go next, or treat frame browsing like an afterthought tucked behind the waiting room.
Those gaps show up across common projects:
- Opening or relocating a practice
- Expanding your footprint or adding diagnostic equipment
- Refreshing a dated dispensary
- Standardizing multiple locations
Space planning, workflow, and merchandising all compete for the same square footage.
Custom optometry office design services pull those pieces into one plan: strategy, space planning, branding, fixtures, signage, merchandising, construction documentation, and installation. Furniture and décor are not chosen in isolation.
This guide breaks down what these services actually include, the priorities that separate a high-performing office from an average one, and how to vet a design partner before you sign a contract.
Key Takeaways
- Effective design balances comfort, clinical workflow, staff efficiency, accessibility, and merchandising.
- Custom planning links every zone into one clear patient journey from entrance to exit.
- Settle brand identity, frames, lighting, signage, and storage before construction starts.
- Optical-industry partners can coordinate design, production, fixtures, and installation under one roof.
What Do Custom Optometry Office Design Services Include?
Custom optometry office design adapts the physical environment to a practice's patient mix, care model, brand, available footprint, clinical equipment, optical assortment, staffing, and growth plans. Each plan is built around how your specific practice operates, not a template applied to every office.
Space Planning and Floor-Plan Development
Designers map patient and staff movement from arrival through check-in, pre-testing, examination, optical browsing, dispensing, checkout, and departure. Good planning reduces cross-traffic, protects privacy during intake, and creates clear transitions between zones. It won't guarantee a specific revenue outcome, but it does address the layout problems that cause bottlenecks in the first place.

Interior Architecture, Finishes, Lighting, and Acoustics
This covers walls, flooring, ceilings, lighting levels, materials, color, privacy treatments, sound control, and durable surfaces suited to a medical-retail environment. Choices here should communicate the practice's brand personality while keeping exam rooms functional and optical displays visible.
Custom Optical Fixtures and Merchandising
Frame displays, dispensing tables, mirrors, storage, contact lens areas, checkout zones, and point-of-purchase elements all shape how eyewear gets discovered. Fixture placement, sightlines, and category organization make browsing easier without crowding the floor.
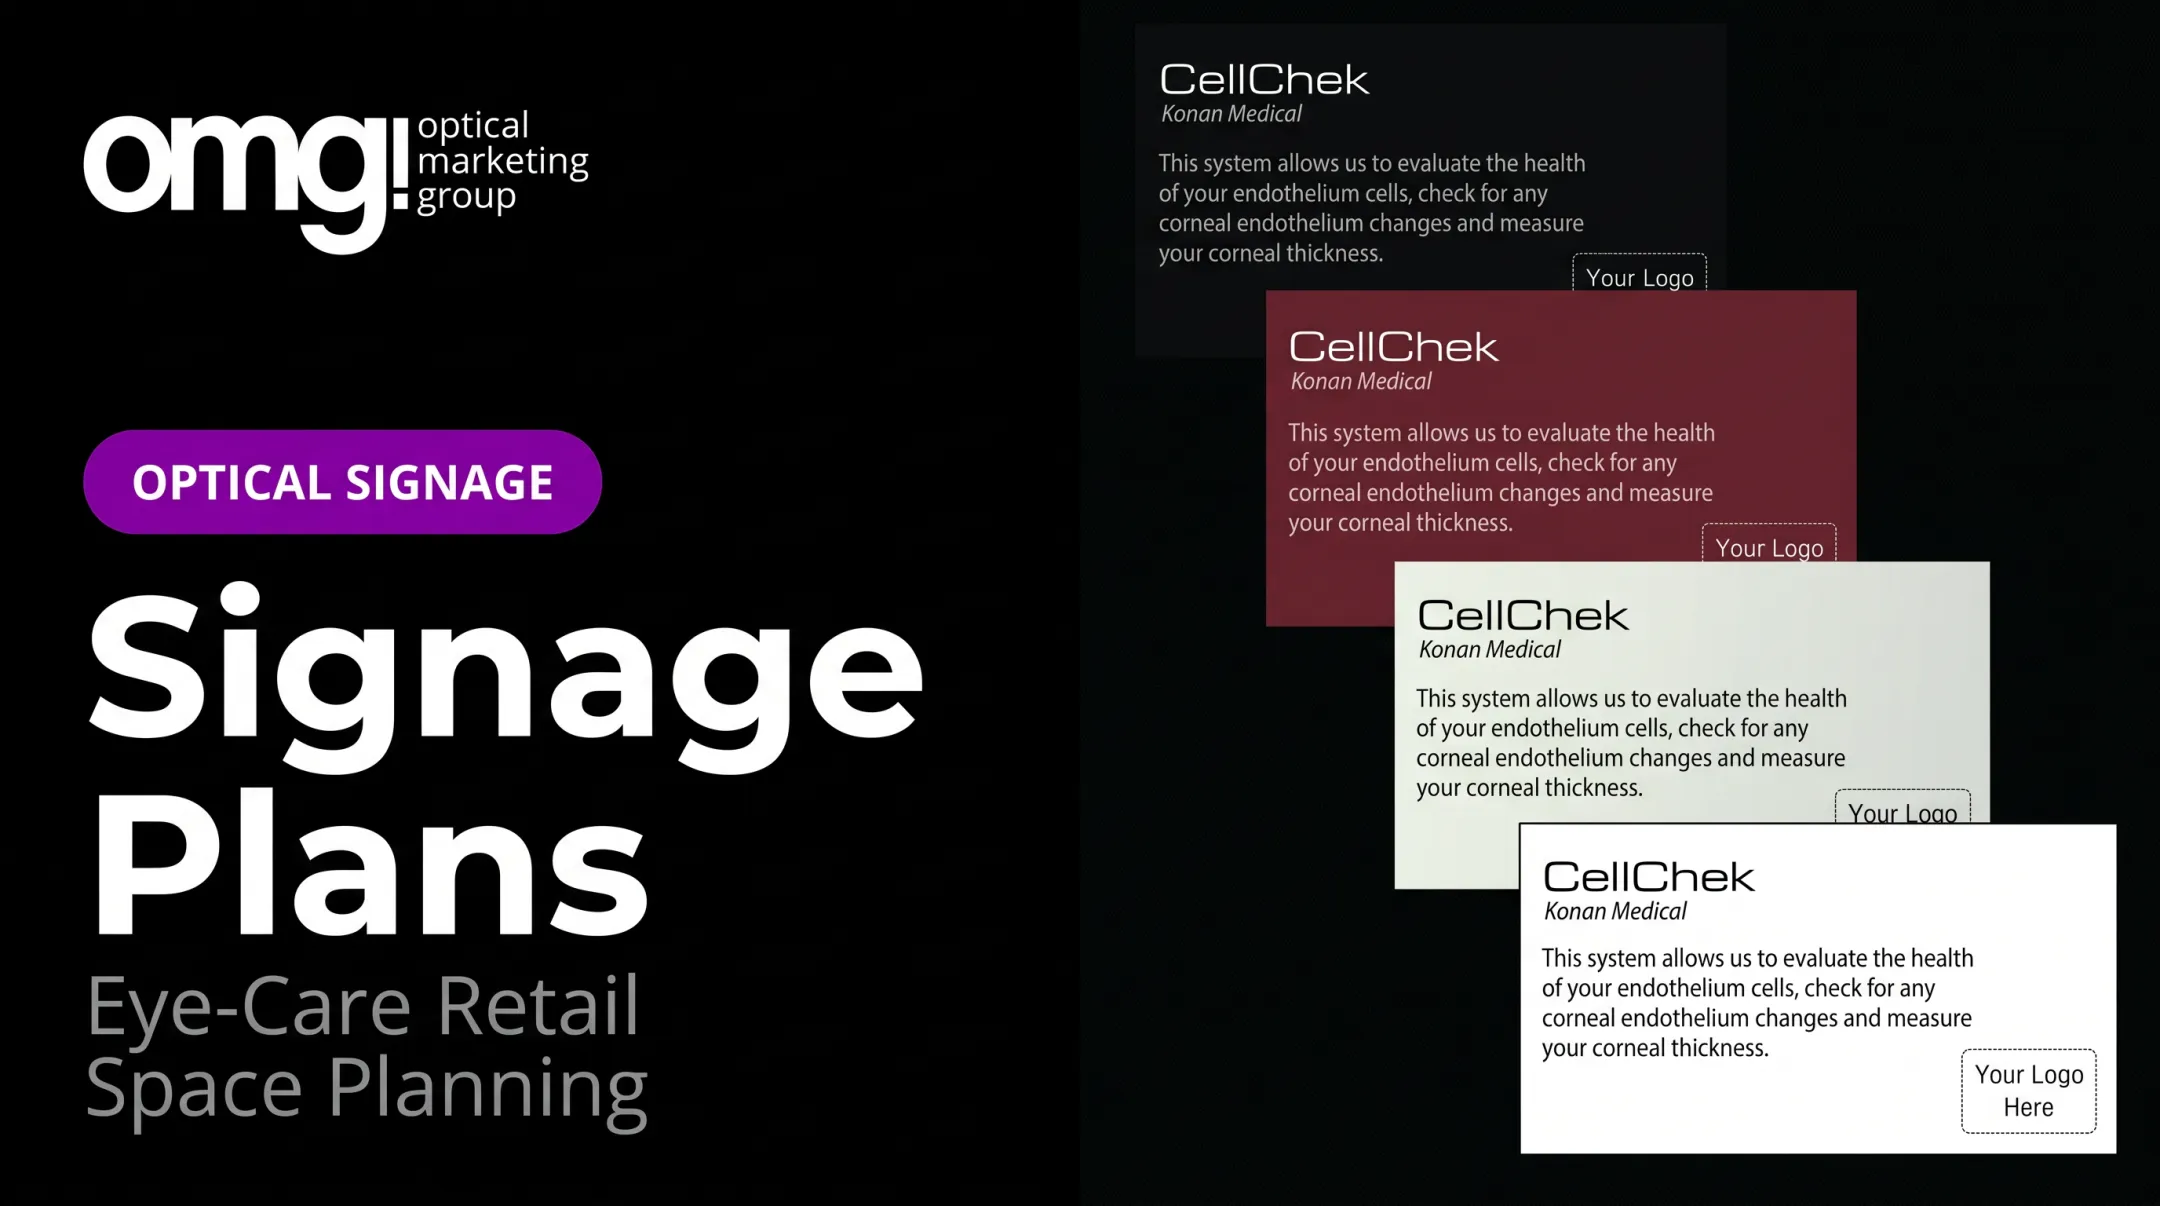
Branding, Signage, and Digital Touchpoints
Exterior identification, reception branding, wayfinding, educational graphics, and digital displays create a consistent visual language throughout the practice. OMG! Optical Marketing Group's graphics, custom signage, digital display, and merchandising capabilities illustrate what an integrated service model looks like: one team handling production, not separate vendors for each element.
Documentation, Production, and Installation Coordination
Construction drawings, specifications, fixture fabrication, vendor coordination, delivery planning, and final merchandising round out the process. Confirm in your project scope which responsibilities your design partner handles directly, such as permitting or contractor coordination, and which fall outside their role.
Design Priorities for a High-Performing Optometry Office
The best design decisions start with how patients and employees actually use the space, then translate those operational realities into a coherent visual experience.
Patient Journey and Traffic Flow
Walk through each zone: entrance, reception, waiting, pre-testing, exam rooms, optical, dispensing, checkout, and exit. Ask whether the transition between them feels intuitive. Before finalizing a renovation or relocation plan:
- Observe current traffic patterns during peak hours
- Note staff handoffs and recurring delays
- Flag privacy concerns at check-in and intake
- Identify where queues tend to form
Clinical Workflow and Equipment Integration
Equipment placement depends on several practical factors:
- Room dimensions and clearances
- Power and data requirements
- Operator access and patient positioning
- Storage needs and future upgrades
This is planning for equipment, not purchasing it. Always confirm manufacturer specifications and applicable building or safety requirements with qualified professionals before finalizing room layouts.
Optical Merchandising and Frame Discovery
An inviting optical area uses focal displays, logical product groupings, comfortable browsing space, mirrors, and adjustable lighting to guide discovery. The balance matters: displays need to stay accessible without obstructing circulation or compromising security.
OMG!'s client work shows this in practice. Clara Vista Eyecare's frame library showcases exclusive eyewear and encourages multiple-pair purchases. At Glendale Optometric Center, illuminated shelves and drawers paired with consultation tables gave frames room to breathe.
Brand Expression and Patient Comfort
Color, materials, furniture, lighting temperature, greenery, noise control, and visual clutter all shape whether a space feels calm and professional. The design should reflect your practice's actual positioning: family-friendly, boutique, tech-focused, community-oriented, or medically specialized, rather than chasing a generic trend.
Accessibility, Privacy, Safety, and Long-Term Usability
Accessible routes require 36 inches of minimum clear width, with door openings needing 32 inches minimum clear opening. Sales and service counters have separate dimensions depending on the approach type, according to the Access Board's ADA standards. These requirements aren't interchangeable, so confirm specifics with qualified professionals rather than applying one rule universally.

Beyond compliance, think long-term: cleanable finishes, replaceable graphics, durable fixtures, and cable management that can flex as technology changes.
How Custom Office Design Can Improve the Patient and Practice Experience
Design is an operational investment as much as a visual upgrade. Done well, it makes a practice easier to navigate and more consistent with the level of care being delivered.
Patient Confidence and Comfort
A clear arrival point, welcoming reception, comfortable seating, and orderly exam areas reduce uncertainty for patients walking into an unfamiliar clinical setting.
Research from the Center for Health Design found that patients rated perceived quality of care more highly in waiting rooms that were nicely furnished, well-lit, and welcoming. That's a perception finding, not a clinical outcome, but it underscores why first impressions matter.
Staff Efficiency and Workplace Usability
Layout choices that cut unnecessary cross-traffic include:
- Proximity between work areas
- Consistent room layouts
- Accessible supplies
- Clear sightlines
When staff aren't navigating around poor layout decisions, they spend more time with patients and less time working around the building.
Optical Engagement and Brand Loyalty
Purposeful frame presentation, signage, and guided browsing support stronger product discovery. Design alone shouldn't be credited with unsupported sales promises.
One optician featured in Review of Optometric Business replaced plastic wall-mounted frame boards with custom shelving, fewer and fresher selections, backlighting, and large mirrors. He reported multiple-pair purchasing and more curated-looking choices, a self-reported outcome, not an isolated, measured effect.
Bill Gerber, OMG!'s founder, puts it simply: "An excellent space combined with pre-appointment browsing and an effective handoff are the key factors in high capture rates."
Several OMG! client projects reflect this philosophy. Urban Optics in College Station, Texas, integrated its waiting area directly into the optical space to encourage pre-exam browsing rather than isolating patients in a separate room.
The Custom Optometry Office Design Process
A good design process is collaborative and iterative. It starts with business objectives and the realities of your existing space, not with picking paint colors before anyone understands how patients move through the building.
Discovery, Assessment, and Goal Setting
This phase captures the inputs that shape every later decision:
- Practice goals and brand direction
- Patient demographics and services offered
- Frame assortment and staffing model
- Pain points and budget parameters
OMG!'s Patient Experience Assessment and online Project Planner help practices organize these priorities before design work begins.
Site Review and Space Planning
Teams measure the existing footprint, document conditions, identify constraints, and map patient and staff flows. New construction, relocation, expansion, full renovation, and lighter refresh projects each need different levels of documentation. A refresh might take a few weeks; a full buildout needs considerably more.
Concept Development and Design Refinement
Concepts progress from mood boards and preliminary layouts to material selections, fixture plans, signage concepts, and lighting direction. Review each concept against:
- Clinical requirements and equipment needs
- Optical merchandising goals
- Accessibility and budget constraints
- Long-term maintenance considerations
Technical Drawings, Fabrication, and Coordination
Construction drawings, elevations, fixture details, equipment coordination, and finish schedules turn concepts into buildable plans. OMG!'s six-phase design-to-delivery approach moves from Discovery through Pre-Construction Drawings and Interior Design into full buildout execution. That structure keeps interior, architectural, graphic, and production disciplines coordinated under one process.
Installation, Merchandising, and Post-Project Review
The final phase covers delivery sequencing, fixture placement, signage installation, staff orientation, and punch-list completion. A post-project review afterward helps identify workflow adjustments and future refresh opportunities.

OMG!'s full Practice Design engagements typically run between $62,000 and $155,000 or more, depending on scope and square footage. A lighter Practice Refresh can turn around in about three weeks when a practice needs a faster, lower-cost update.
How to Choose a Custom Optometry Office Design Partner
Not every design firm understands the specific demands of a medical-retail hybrid space. When comparing providers, look past the portfolio photos and dig into the process.
Evaluate based on:
- Relevant optical and healthcare design experience, not just general retail or commercial work
- Design depth and production capabilities under one roof
- Communication practices and documentation quality throughout the project
- Ability to coordinate with your contractors and vendors
Ask prospective partners for examples that match your project type: a new practice build, a relocation, an optical refresh, or a multi-location rollout. OMG!'s portfolio includes projects like Premier Eye Care's relocation to Cottage Grove, Minnesota. The design team worked closely with the owners on fixtures, signage, wayfinding, and lighting.
Before signing anything, request a written scope covering:
- Deliverables and revision stages
- Fees, allowances, and procurement responsibilities
- Installation, travel, and schedule assumptions
- Change order policy and post-installation support
Confirm the provider can connect clinical planning, optical merchandising, brand storytelling, custom fixtures, graphics, and installation through one coordinated team. That beats getting handed off between separate vendors for each piece.
Frequently Asked Questions
What equipment do optometrists use?
Equipment varies by practice and typically includes diagnostic, pre-testing, imaging, dispensing, and administrative technology. Office design should reserve appropriate space, utilities, clearances, and storage for whatever equipment your practice selects, plus room for future upgrades.
What should be included in an optometry office design plan?
A complete plan covers space planning, patient and staff flow, clinical rooms, optical merchandising, reception, lighting, finishes, accessibility, branding, signage, equipment coordination, construction drawings, and clear implementation responsibilities.
How can I improve patient flow in an optometry office?
Start by assessing arrival, check-in, pre-testing, exam, optical, dispensing, and checkout zones for queues, privacy issues, and staff handoff points. Identify recurring delays before changing anything in the floor plan.
What is the difference between an optometry office refresh and a full renovation?
A refresh typically updates cosmetic or merchandising elements like paint, fixtures, and signage without touching the building's structure. A full renovation involves walls, infrastructure, electrical or plumbing work, and construction documentation.
How much does custom optometry office design cost?
Cost depends on project scope, footprint, existing building conditions, fixtures, graphics, equipment coordination, and installation needs. Request a detailed project scope and estimate from your design partner rather than relying on a generic price range.